May 20, 2013
Today after completing the usual of donning a lab coat, washing our hands, and wiping down our stations, and retrieving our samples from the refrigerator, we began collecting the necessary instruments for preparing bacteria slides.
To prepare a slide, we added a very small drop of water to a blank slide; then we transferred a small amount of our bacteria sample to the drop with an inoculating loop. We spread the sample into a thin film on the slide and allowed it to air-dry.
After it was dry, the slide was passed three times through a flame so that the bacteria would become fixed to the slide. Now the slide is ready for staining.
Fixing the Bacteria
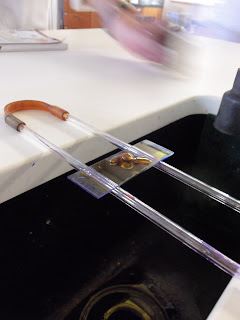
For our simple stain we chose to use the crystal violet stain. To simple stain our fixed slide, we covered the smear on the slide with several drops of stain for 20-30 seconds (time indicated for crystal violet).
Crystal Violet Stain
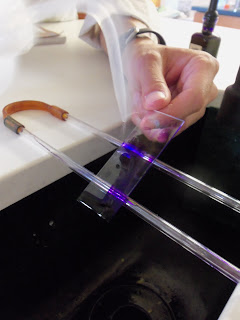
We then rinsed the slide with water to remove excess stain and blotted the remaining water from the slide with bibulous paper. We then observed the slide under the microscope using immersion oil. Our bacteria appeared to have a rod-like shape, and appeared individually and also in some clusters, indicating a bacilli bacteria.
Rinsing of Excess Stain
Blotting the Slide with Bibulous Paper

Rod-Shaped Bacteria from Simple Staining
After completing our simple stain, we moved on to negative stain preparation. For negative staining we took an unfixed slide and placed a drop of nigrosin on one end of the slide. We then transferred a small amount of our bacteria to the nigrosin drop and mixed them together within the drop, not spreading the sample over the slide too much. After mixing the nigrosin, another clean slide was used to spread the sample. We did this by touching the end of the new slide to the drop and smeared it across the slide. We allowed this slide to air-dry before viewing it under the microscope with immersion oil. The negative slide helped distinguish the shape of the bacteria, which appeared again to be rod-shaped (bacilli). Negative stains are useful for identifying capsules as well, but no capsule was visible on our bacteria.
Spreading the Bacteria
Gram-Negative Slide
The last stain we did was the Gram stain, to test for Gram-positive or Gram-negative bacteria. We fixed another slide and covered the smear with crystal violet for 20 seconds. We then rinsed the slide with water to remove the excess stain. Next we covered the smear with Gram's iodine for 1 minute and rinsed the slide with water afterwards.
Gram's Iodine Stain
We then added an ethanol alcohol decolorizing reagent drop by drop until the color stopped running off the slide; we immediately rinsed the slide with water again.
Decolorizing Agent (Ethanal Alcohol)
Decolorizing the Slide
We covered the smear with safranin for 1 minute and then rinsed the slide once more. We blotted the slide with bibulous paper before examining it under the microscope with immersion oil. Our bacteria was stained pinkish-red from the safranin, indicating a Gram-negative bacteria cell wall.
Safranin Stain
Gram-Negative Bacilli Bacteria
Stains used for Gram Stain
After observing all of our slides, we placed our slides in the disinfectant solution to soak, and cleaned our stations. We then washed our hands and removed our lab coats for the day.


No comments:
Post a Comment